Skip to content

A Major Milestone: Graf Zeppelin Takes Its Place on the Stand

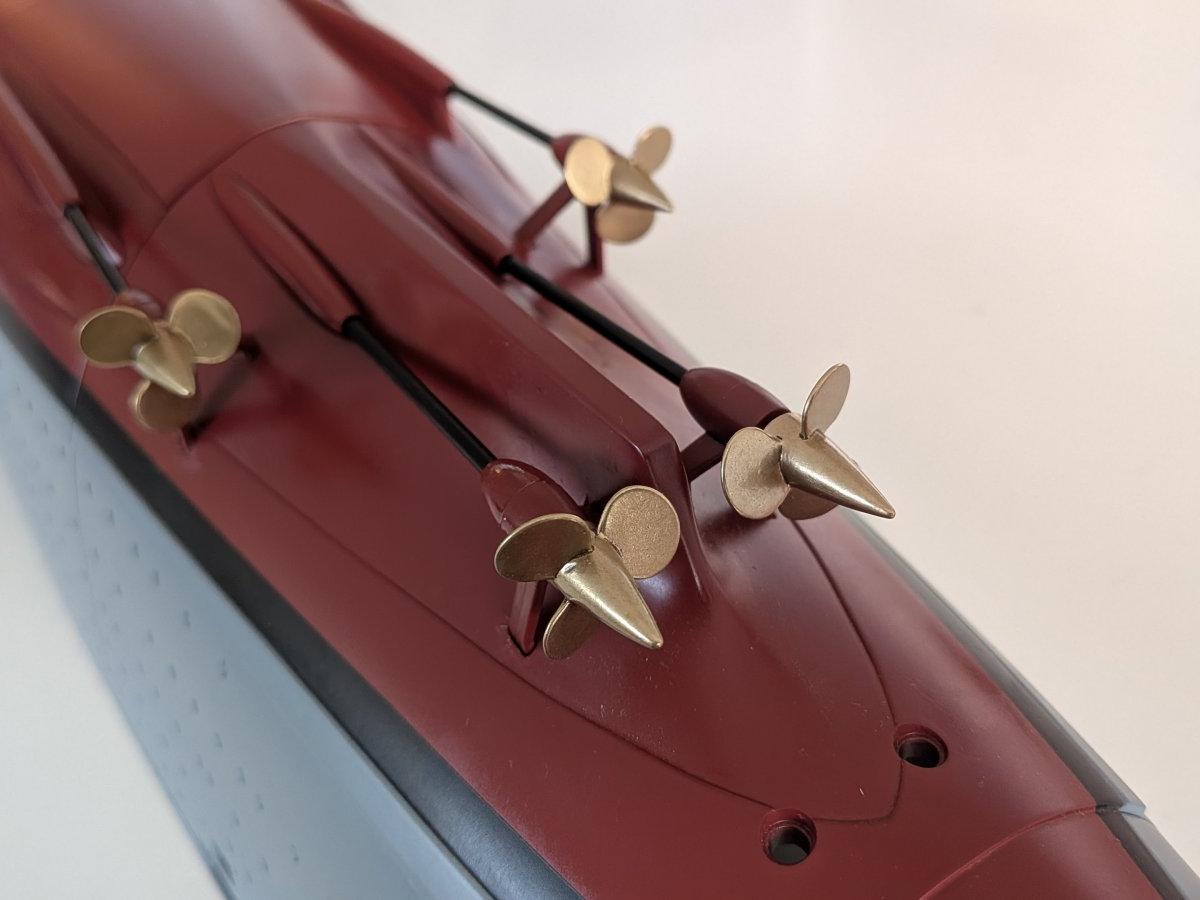
The Graf Zeppelin build has reached a defining moment. Its imposing 130 cm metal hull is now complete, weighing an impressive 4.8 kg. With the major structural work finished, attention is shifting to finer details such as the illuminated navigation lights and the growing air wing. Construction of the display stand has also begun, including its electrical connections and substantial base plate. For the first time, the carrier can now be placed on its stand—a first glimpse of how impressive the finished model will look.

Step 57/140: Starboard hull part

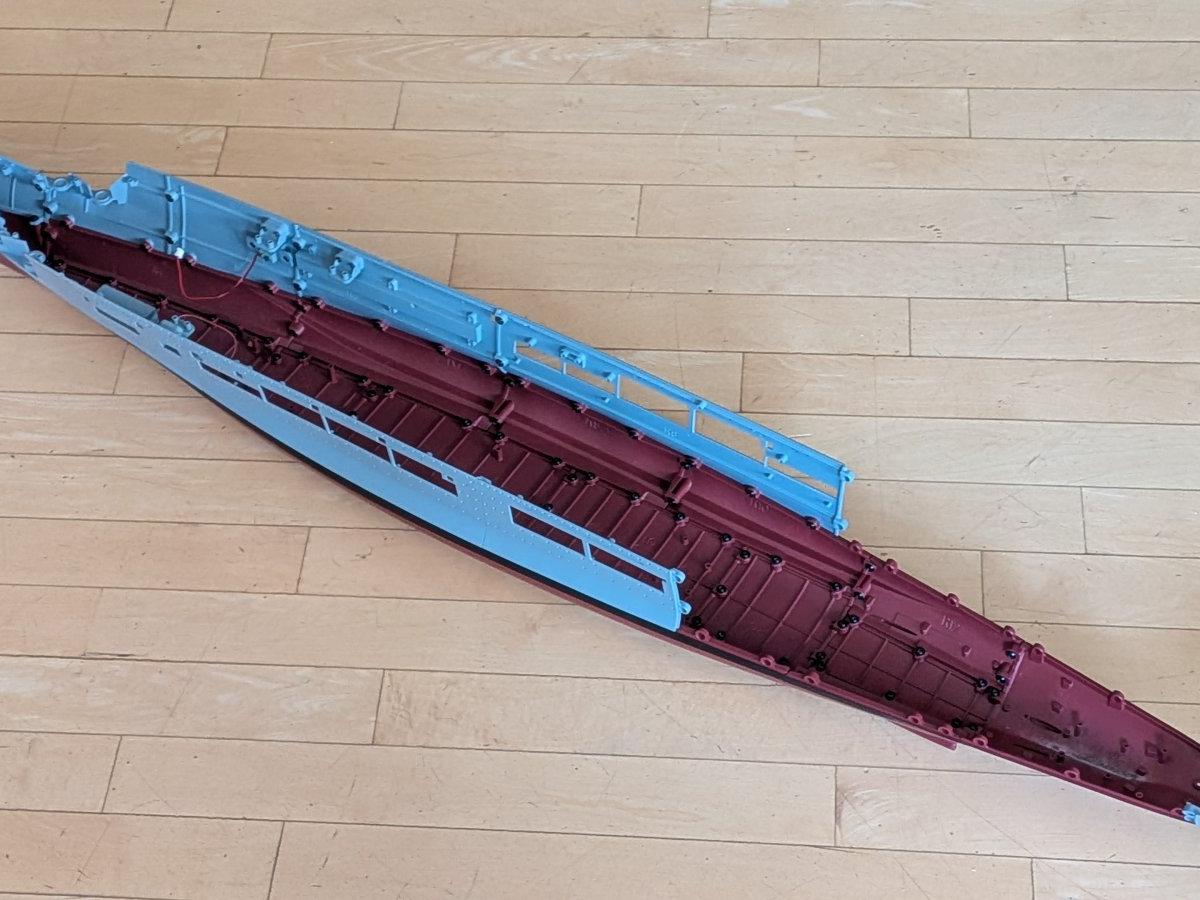
As expected, another hull section. I have to admit, I am really glad this part of the build will be finished soon — tightening all those tiny Allen screws is not exactly the most enjoyable task.

This time I actually had one screw that I could not tighten at all, no matter what I tried. Fortunately, it is located in an area with plenty of other screws around it, so the hull section should still be held securely. Hopefully this can be fixed later.

40% of all parts have now been added to the model.

Step 58/140: Port Stern Section

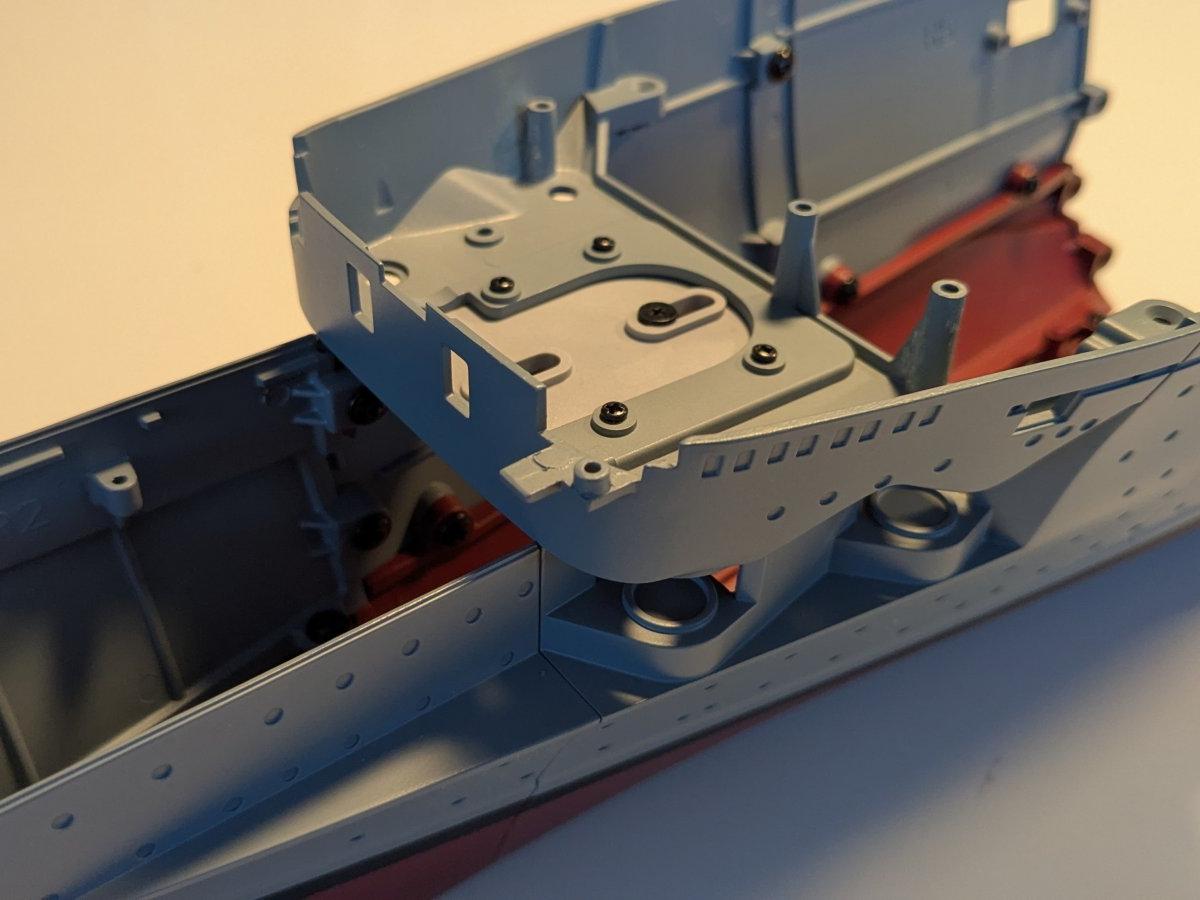
The next hull section has now been installed on the port side at the stern. I have to admit, I'll be glad when the hull assembly is finally complete, tightening the screws in these cramped spaces at the stern is quite a challenge. Fortunately, only two hull sections remain before this part of the build is finished.

Step 59/140: Last starboard hull part

The starboard hull is now finished. With the next upcoming hull section in place, the project should finally move on to the more exciting phases of the build.

Step 60/140: Hull completed

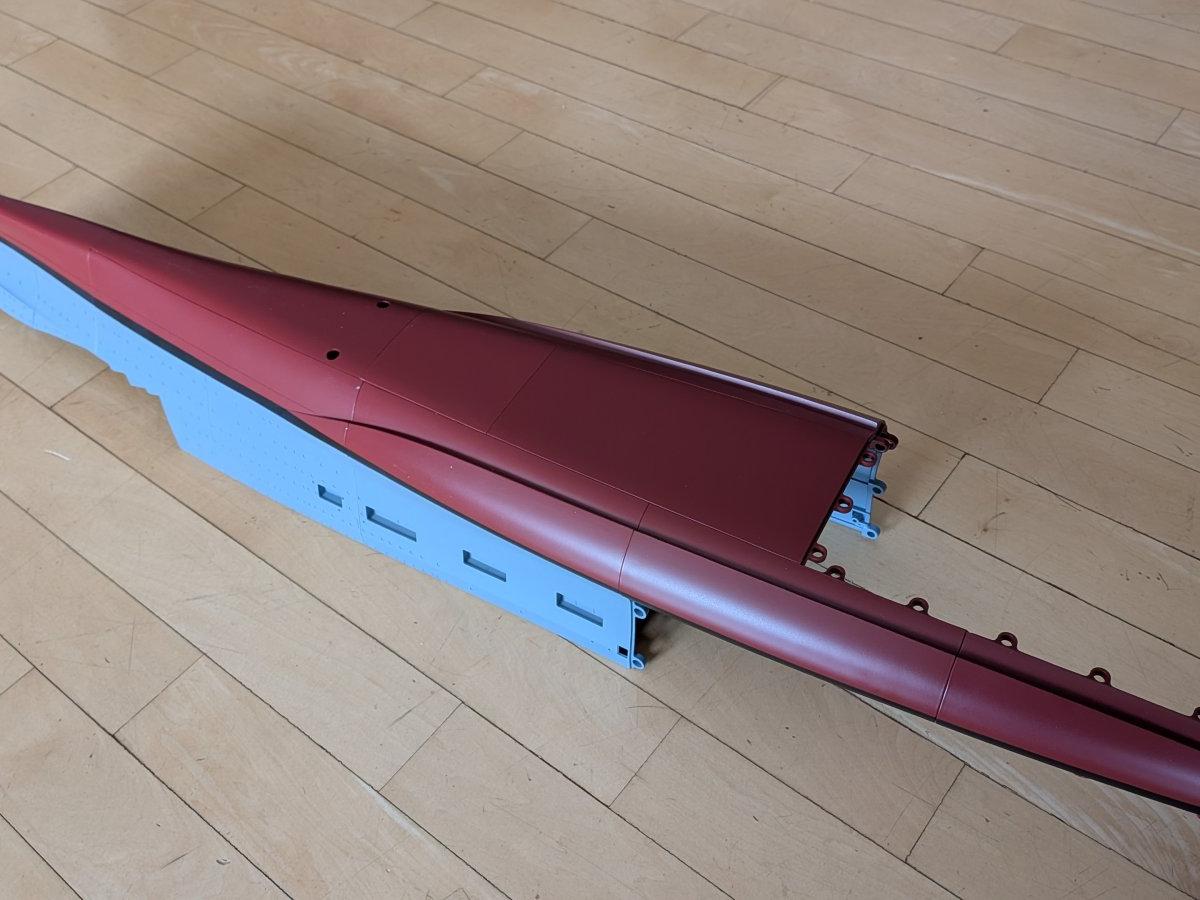
With step 60, the hull is finally complete. All hull sections have now been assembled, and, hopefully, that was the last time I had to tighten screws in those hard-to-reach spaces.

Measuring around 130 cm in length, the fully metal hull now weighs an impressive 4.8 kg. With the hull finished, I'm looking forward to the next stages of the build, which should offer a bit more variety than assembling endless metal panels.

Step 61/140: Navigation lights

After assembling the major hull components, it's time to focus on some of the smallest details. The navigation lights are now installed. The LEDs that illuminate them were fitted inside the hull much earlier in the build, while fine optical fibers have now been added to carry the light precisely to each navigation light position.

In addition, the air wing has been expanded with its ninth Ju 87 Stuka.

Step 62/140: Beginning the Stand

It looks like the next few steps will focus on building the ship's display stand—an exciting milestone in the project.

Work has now begun on the first section of the stand. A cable and connector have been installed, which will later connect the stand to the electronics and motors inside the ship.

Step 63/140: Completing the Stand

The second cable and connector were added to the stand section from last week. This appears to be the power cable, as it is slightly thicker than the other one, which I assume is the data cable.

The second stand, which does not have any cables, was also included in this week's parts. However, there was nothing to assemble on this one.

Step 64/140: The ground plate

Date:
Aug 17, 2026

The biggest part so far is the base plate, which measures an impressive 55 cm in length. The two stands were attached to it, and the cables were routed into their correct positions.

Work on the stand will continue in the next steps, but the ship can already be placed on its stand.